Introduction
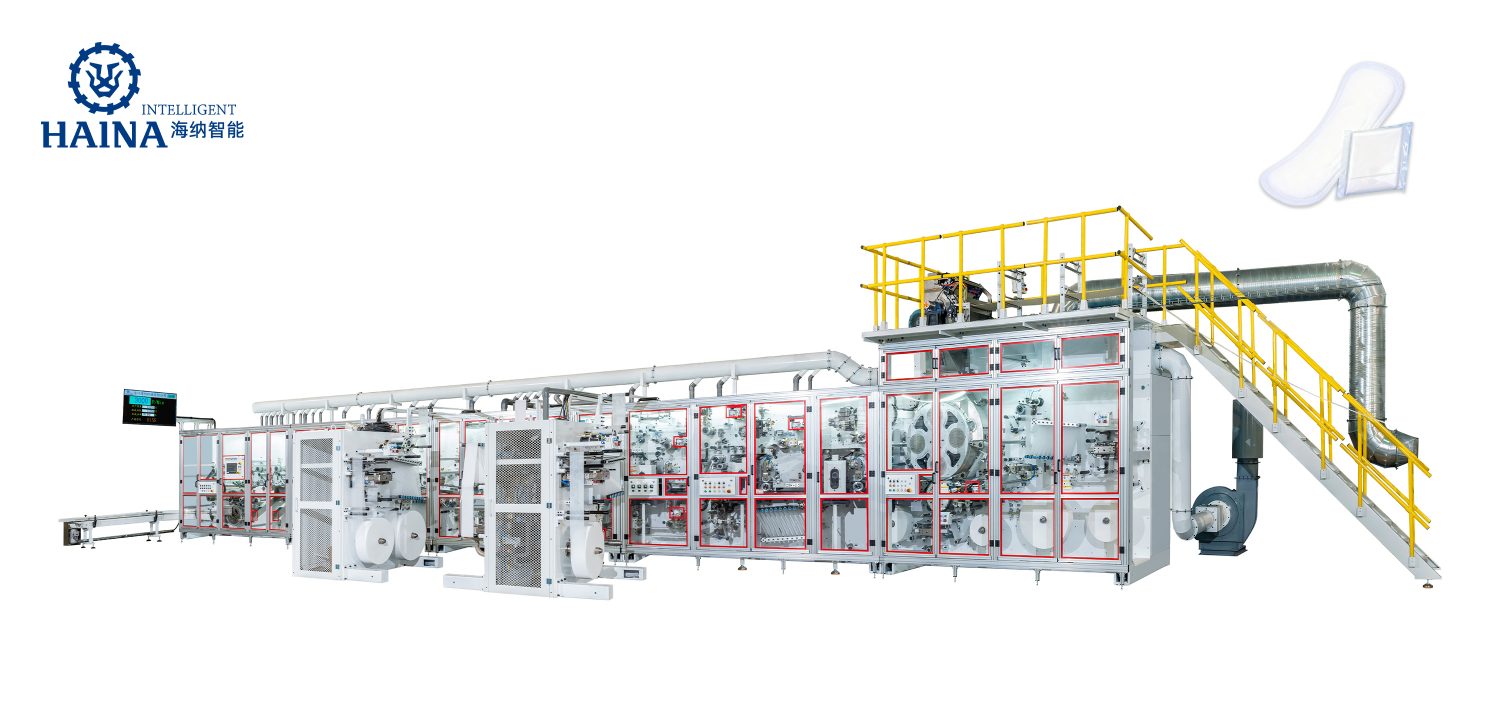
Installing a feminine napkin machine is a crucial step in establishing a successful production line for feminine hygiene products. This step-by-step installation guide will provide detailed instructions on how to install the machine efficiently and effectively. By following this guide, you will be able to set up your feminine napkin machine with ease and ensure its smooth operation.
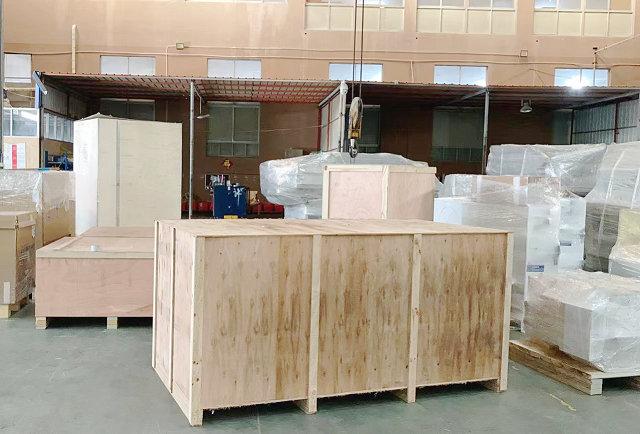
Step 1: Unpacking and Inspection
The first step in installing a feminine napkin machine is to carefully unpack and inspect the machine and its components. Ensure that all parts are present and undamaged. Read the user manual provided by the manufacturer to familiarize yourself with the different components and their functions.
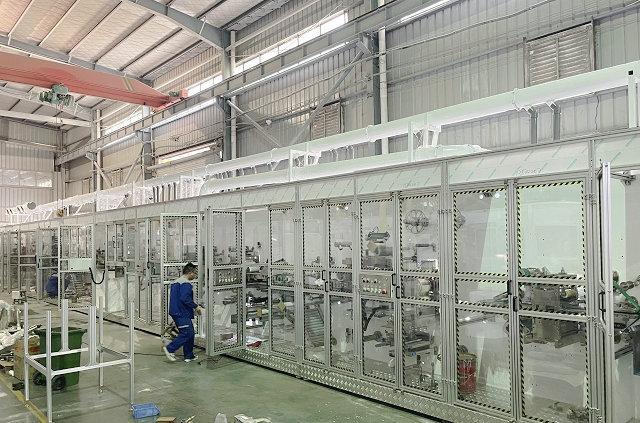
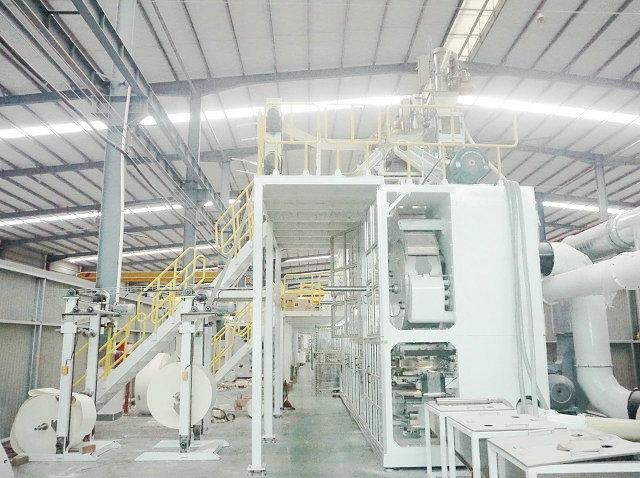
Step 2: Location Selection
Choose an appropriate location for your feminine napkin machine. Consider factors such as available space, ventilation, and proximity to other machines or production lines. Ensure that the selected location meets safety regulations and allows for easy access during maintenance and operation.
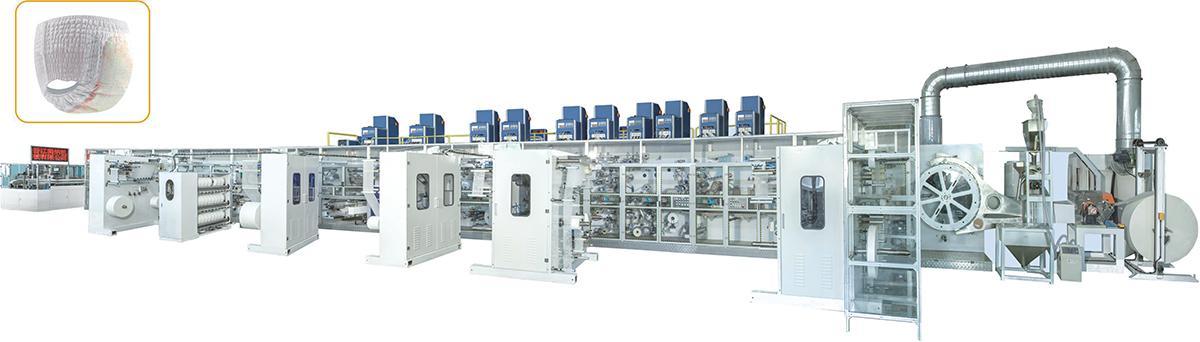
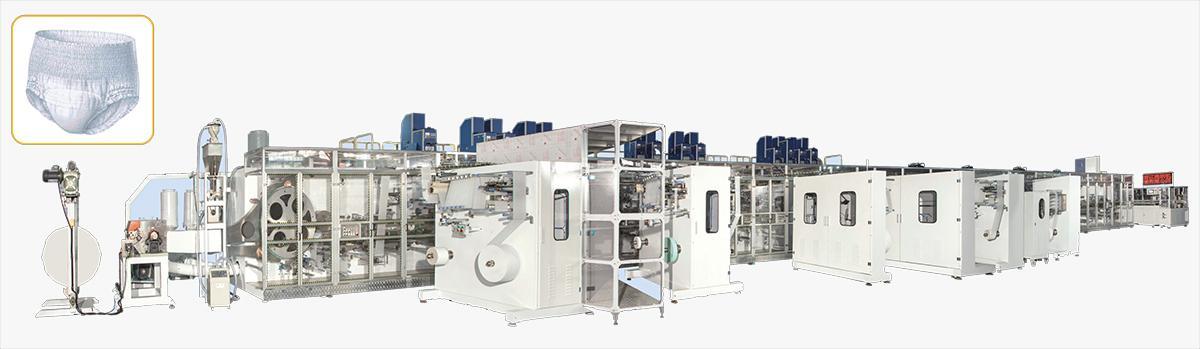
Step 3: Machine Assembly
Follow the manufacturer's instructions to assemble the feminine napkin machine. Start by attaching the main frame and then proceed with the installation of additional components, such as conveyors, cutting mechanisms, and control panels. Use the provided tools and fasteners to securely attach each part.
Step 4: Electrical Connection
Ensure that the power supply in your chosen location matches the machine's electrical requirements. Hire a qualified electrician to connect the machine to the power source. Follow proper safety procedures when working with electricity to prevent accidents. Test the connection to ensure that the machine powers on and all components function correctly.
Step 5: Air and Water Connections
If your feminine napkin machine requires air and water connections, carefully connect the machine to the appropriate sources. Ensure that the water supply is clean and free from contaminants. Check for any leaks or irregularities in the connections before proceeding.
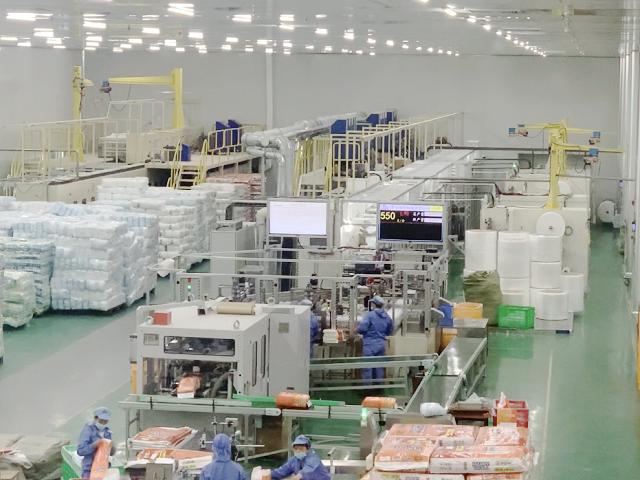
Step 6: Calibration and Testing
Once the machine is fully assembled and connected, it is crucial to calibrate and test its performance. Use the control panel and software provided by the manufacturer to adjust settings such as speed, pressure, and cutting accuracy. Conduct several test runs to ensure that the machine is producing feminine napkins that meet the desired specifications.
Step 7: Training and Documentation
Train your staff on how to operate and maintain the feminine napkin machine. Create detailed documentation that outlines the operating procedures, troubleshooting steps, and maintenance requirements. Regularly update this documentation as needed to ensure that your staff has access to up-to-date information.
Conclusion
Installing a feminine napkin machine requires careful attention to detail and adherence to the manufacturer's instructions. By following this step-by-step installation guide, you can successfully set up and operate your machine. Remember to prioritize safety, calibration, and training to ensure efficient production and high-quality feminine hygiene products.