Easy Installation Steps for Your Lady Pad Machine
Introduction
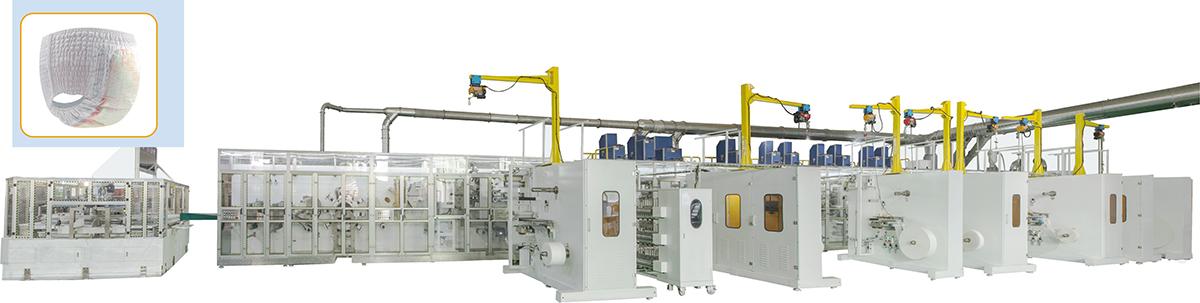
Installing your lady pad machine is a simple and straightforward process that requires minimal effort. This guide will walk you through the easy steps to get your machine up and running in no time. Whether you are a beginner or have experience with similar devices, you will find this installation process hassle-free.
Step 1: Unpack the Box
Start by unpacking the box containing your lady pad machine. Ensure that all components, including the main machine, power cord, user manual, and any additional accessories, are present and undamaged. It is crucial to inspect everything before proceeding with the installation.
Step 2: Read the User Manual
Before starting the installation, take some time to read the user manual provided. Familiarize yourself with the machine's features, functions, and any specific instructions or precautions outlined in the manual. This will ensure a smooth and trouble-free installation process.
Step 3: Find a Suitable Location
Select a suitable location for your lady pad machine. It should be a flat and stable surface with easy access to a power outlet. Additionally, ensure that there is enough space for the machine to operate comfortably without any obstructions.
Step 4: Connect the Power Cord
Take the power cord provided and connect it to the designated port on the back of the machine. Plug the other end of the cord into a nearby power outlet. Make sure the connection is secure and that the cord is not tangled or damaged.
Step 5: Turn on the Machine
Locate the power button on your lady pad machine and switch it on. You should see a power indicator light or display illuminating to confirm that the machine is receiving power. Allow the machine a few moments to initialize and prepare for use.
Step 6: Insert the Pad Material
Open the designated compartment on the machine where the pad material is inserted. Follow the instructions provided in the user manual to correctly place the pad material into the machine. Ensure that it is aligned properly and securely in place.
Step 7: Adjust Settings (if applicable)
If your lady pad machine has adjustable settings, such as temperature or speed, take this opportunity to make any necessary adjustments according to your preferences. Refer to the user manual for guidance on how to operate and adjust these settings.
Step 8: Start the Machine
With everything in place, you are ready to start your lady pad machine. Press the designated start button or follow the instructions provided to initiate the machine's operation. Observe the machine closely during its initial run to ensure smooth functioning.
Conclusion
Installing your lady pad machine is a simple task that can be completed with ease. By following the steps outlined in this guide and referencing the user manual, you can have your machine up and running in no time. Remember to prioritize safety and follow any precautionary measures mentioned in the manual for optimal usage of your lady pad machine.